R. MICHELSON GALLERIES
Fine Art Gallery, Art Restoration, & Picture Framing
Fine Art
Illustration
Exhibits
Contact Us
Join Our Email List
Jack Coughlin
Nudes and Bronzes
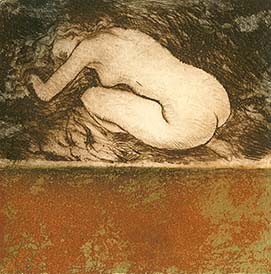
Figure I